
Basics
How to Start With a Square Sheet of Origami Paper
Set up a square sheet for a first origami project by checking size, squareness, front and back orientation, and paper condition before the first permanent crease.
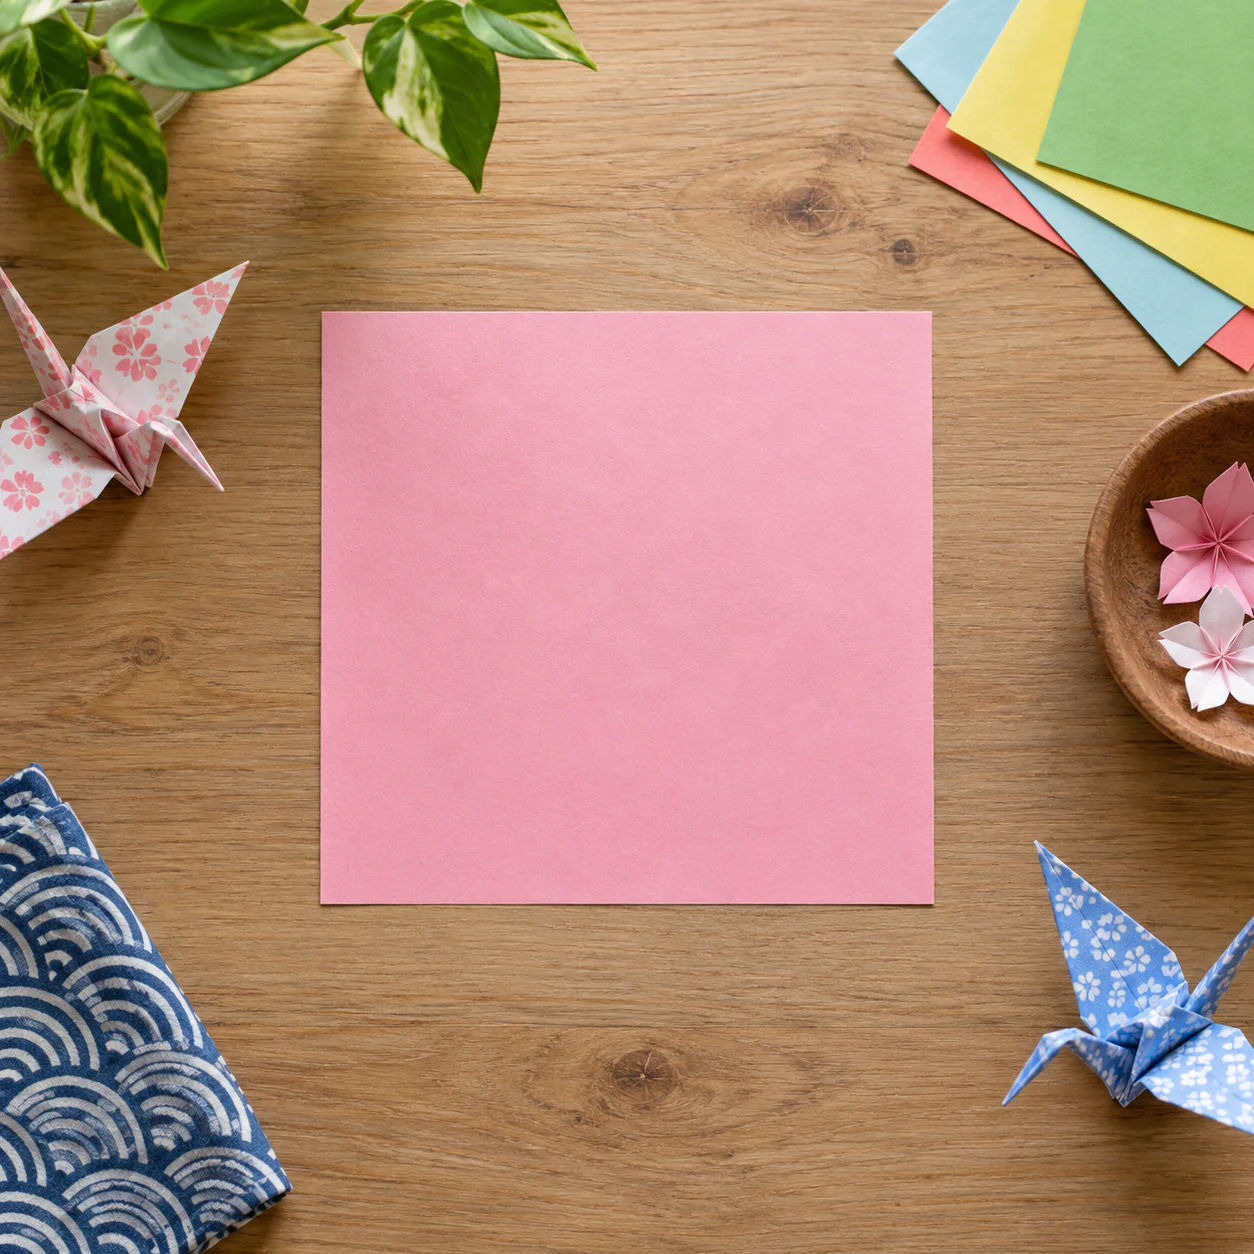
A square sheet looks simple, but its size, condition, and orientation affect almost every fold that follows. Spending thirty seconds on setup can prevent the frustrating moment when a beginner reaches step six and discovers that the corners never had a chance to line up.
Pick a size your hands can control
For a first project, start larger rather than smaller. A square around 6 inches / 15 cm gives most beginners enough room to see layers, hold two landmarks at once, and correct a fold before pressing it flat. OrigamiUSA class supply lists frequently use 15 cm kami for learning and often recommend even larger paper when a model becomes more complex.
Very small paper can make an easy design feel difficult because several layers become thick and the target points are close together. Oversized paper is not automatically easier either: long edges can drift while you are trying to align them. The useful size is one you can rotate on the table without losing control of the corners.
Check that the sheet is actually square
Commercial origami paper should arrive square, but loose craft paper, trimmed printer paper, or sheets cut at home are worth checking.
Lay the sheet on a flat surface. Compare its edges visually, then bring one corner diagonally to the opposite corner without making a hard crease. The two adjacent edges should stack neatly. If one edge extends beyond the other, the sheet may be slightly rectangular or skewed.
A tiny manufacturing difference rarely ruins a forgiving beginner model. A visibly uneven square, however, makes symmetry difficult and can create the false impression that the folding sequence is wrong. Replace or recut the sheet before practicing an accuracy-focused model.
Decide which side should face up
Many packs have color on one side and white on the other. Some models hide the reverse side completely; others use a color change as part of the design. Before the first fold, look at the tutorial's opening image and determine which face should be on the table.
If the instructions do not depend on color, choose the side that gives you the clearest contrast. For a photo tutorial, a solid-colored sheet is usually easier for a beginner to read than a busy pattern because edges and overlapping layers remain visible.
With double-sided paper, mark nothing yet. Instead, mentally name the two faces—perhaps “blue” and “yellow”—and check which one the next photo shows. That habit is more transferable than writing temporary labels on the sheet.
Flatten curl before you create landmarks
Paper stored in a roll, damp room, or crowded drawer may not sit flat. A slight curl can shift a corner while you press the crease.
Place the sheet under a clean, flat book for a while if necessary, or gently reverse a mild curl with your hands. Avoid ironing, wetting, or aggressively bending decorative paper unless the manufacturer specifically supports that treatment. For an ordinary practice square, replacing a badly warped sheet is usually faster than rescuing it.
Also inspect the corners. A crushed corner cannot serve as an accurate landmark. Save damaged sheets for free-form practice rather than a model that depends on precise corner-to-corner folds.
Make the first crease lightly
Beginners often press the first fold as hard as possible because a sharp crease feels “correct.” A better sequence is to align, check, then commit.
Bring the required corners or edges together and hold them in place. Press a short section near the center of the fold. Look again at both ends. If the alignment is right, smooth the crease outward. If it is wrong, the light center mark is easier to correct than a fully burnished diagonal.
This matters on thin kami, where a mistaken crease can remain visible in the finished model, and on thick craft paper, where a wrong crease becomes difficult to reverse.
Keep the work surface simpler than the paper pack
You do not need a specialized mat for beginner origami. A clean, dry, smooth tabletop is enough. Remove cups, crumbs, pens, and anything that can dent the sheet. Keep only the tutorial and the paper within your immediate folding area.
If the project requires scissors, use them only for the stated setup step and then move them aside. Traditional origami is often folded without cutting, but beginner activities sometimes start from printer paper or other rectangles that must first be made square.
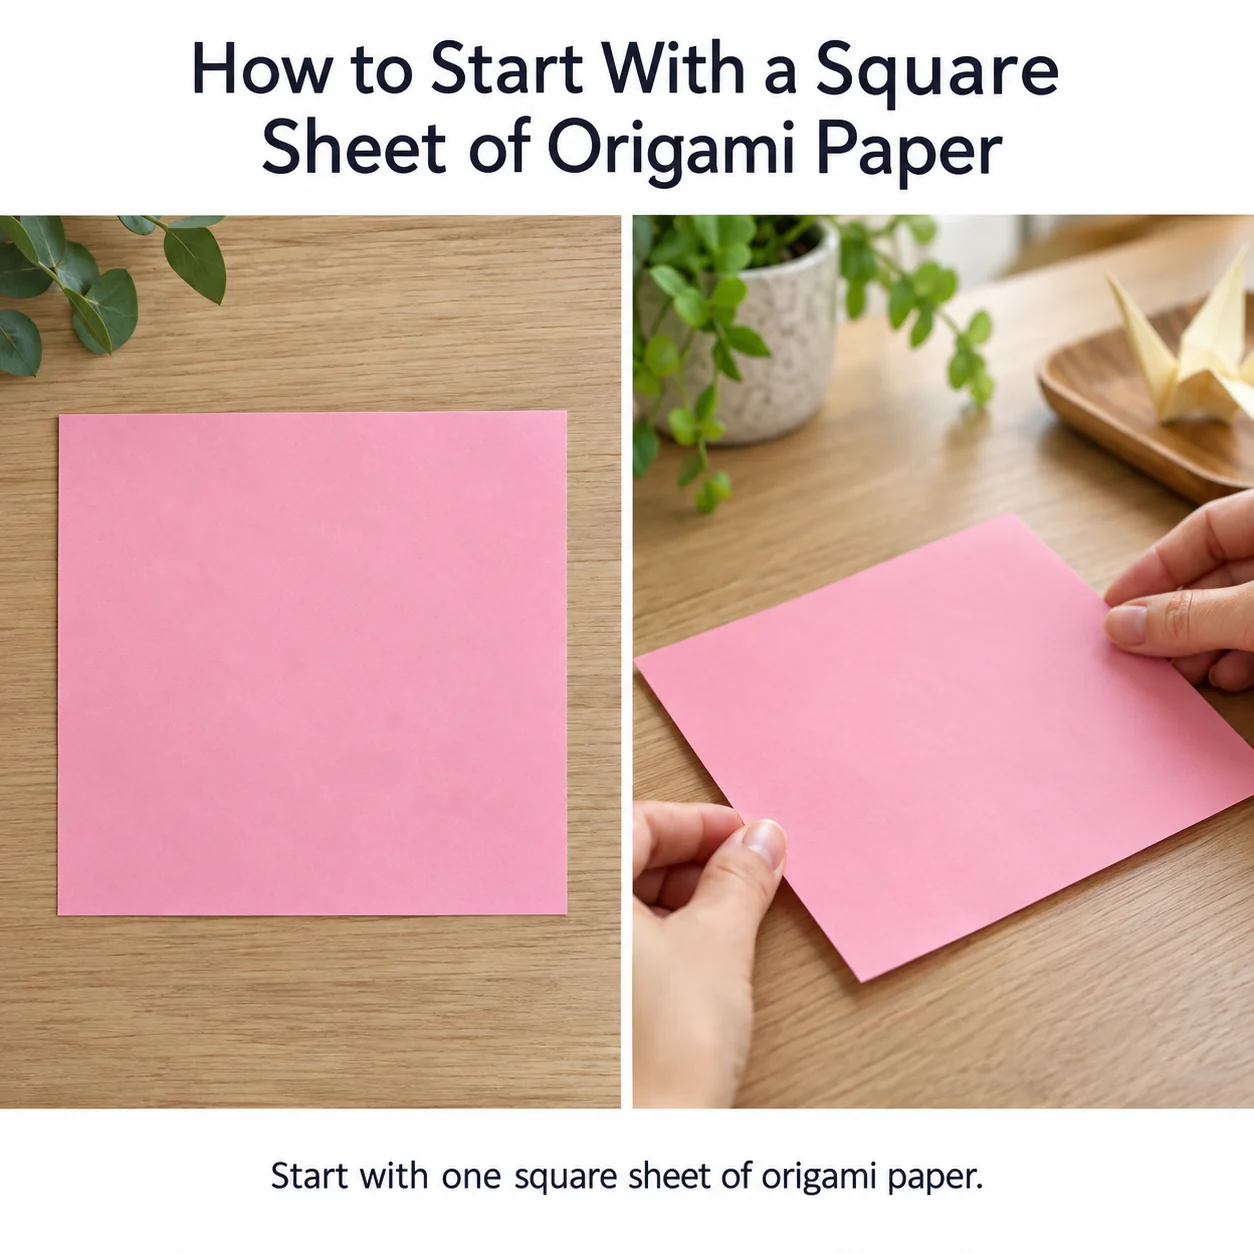
A good starting square should disappear from your attention
The best setup is one you stop thinking about after step one. The paper lies flat, the corners are intact, the front and back make sense, and the sheet is large enough that you can see the layers. From there, the model—not the material problem—becomes the lesson.
Quick questions beginners ask
Does origami paper have to be 15 cm square? No. Fifteen centimeters is a common, comfortable learning size, not a rule. A model may work better larger or smaller depending on its number of layers and details.
Can I practice with copy paper? Yes, especially for basic folds and many simple models. Cut or fold it to the required starting shape first, and expect it to feel stiffer than thin kami.
Should patterned paper be my first choice? Usually not for learning a new sequence. Patterns can make layer boundaries harder to see. Use them after you understand the fold path.