
Basics
Mountain and Valley Folds: The First Two Creases to Learn
Learn the physical difference between valley and mountain folds, practice both with one square, and use crease direction as a reliable orientation check in beginner origami.
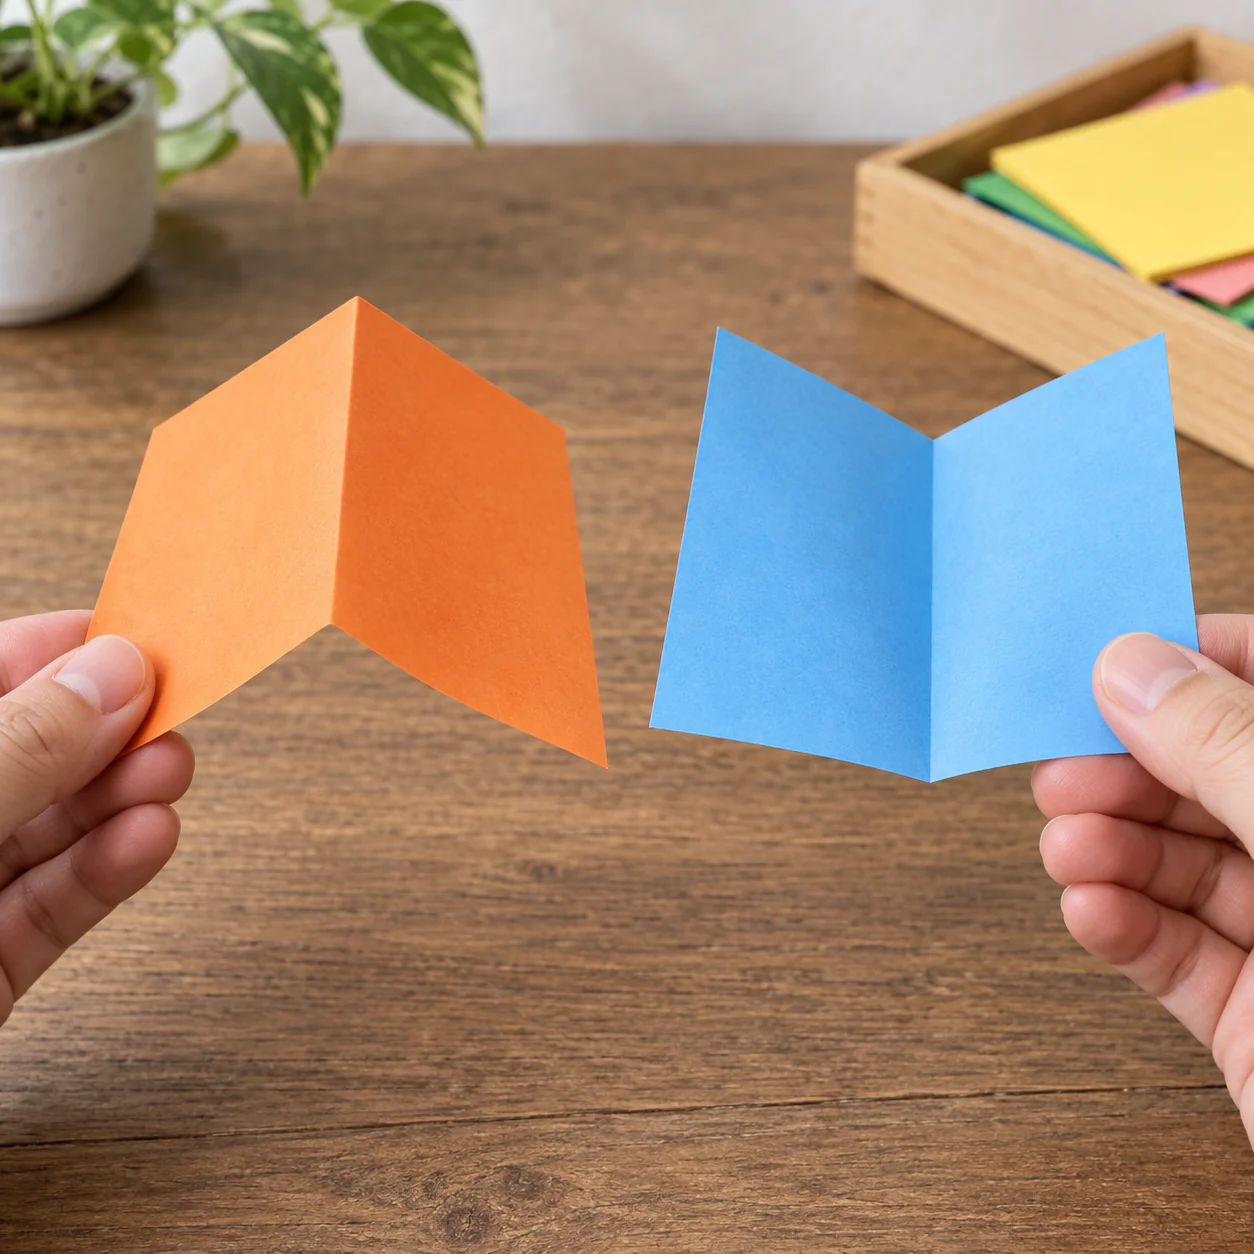
Mountain and valley folds are less like two separate tricks than two directions for the same basic action. If you can line up an edge, make a clean crease, unfold it, and recognize which way that crease wants to bend, you already have a tool that appears throughout beginner origami.
Learn the direction before you learn the symbol
Start with one square of ordinary origami paper, roughly 6 inches / 15 cm if you have it. Place it flat in front of you and fold the bottom edge up to meet the top edge. Press from the middle toward the corners, then unfold.
Now lift the paper so that the crease opens toward you. Seen from the side, the paper makes a shallow V. That is the easiest physical memory for a valley fold: the crease sits at the bottom of a valley.
To feel the opposite direction, refold the same crease backward. The ridge now points toward you while the paper falls away on both sides. That is a mountain fold. You did not create a new line; you changed the direction in which the same line bends.
This distinction matters because many diagrams assume you can look at an existing crease and reverse it when the model changes orientation. OrigamiUSA's teaching vocabulary treats mountain fold and valley fold as foundational terms alongside landmarks such as center lines, raw edges, and folded edges.
Use one crease as a two-minute drill
A beginner does not need a finished model to practice these two folds. Try this short drill instead:
- Fold a square in half from bottom to top, crease, and unfold.
- Hold the paper at eye level and identify the valley side without turning it over.
- Reverse that crease into a mountain fold.
- Lay the paper flat again and repeat from left to right.
- Add one diagonal crease and practice reversing only that diagonal.
The goal is not speed. Look for a crease that reaches the intended landmarks cleanly and does not wander near the edge. If the corners miss each other, reopen the sheet before pressing harder. Accuracy is easier to fix while the fold is still light.
Press a crease in the right order
Most beginner errors happen before the crease is fully pressed. Bring the intended corners or edges together first. Hold the alignment with one hand, then press the paper near the center of the fold with the other. Smooth outward in both directions.
That order prevents a small error at one corner from being locked into the entire crease. It also makes thin paper less likely to wrinkle. A fingernail is enough for normal kami or copy paper; a special creasing tool is not required for this exercise.
If you are folding with a child, the useful coaching phrase is not “make it sharper.” Ask, “Which two points are supposed to meet?” The answer directs attention to geometry rather than force.
Read the paper when a tutorial changes orientation
Photo tutorials can be harder than diagrams because the paper may rotate between images. When that happens, do not rely only on “left” and “right.” Use the crease you just made as an orientation anchor.
Before moving on, check three things:
- Which side of the paper is facing up?
- Is the last crease currently a valley or a mountain?
- Which edge or point is acting as the next landmark?
If the next photo seems impossible, rotate the model first. A surprising number of beginner “folding mistakes” are really orientation mistakes.
Know when a mountain fold is simply a reversed valley
Instructions sometimes ask for a mountain fold along a line that was previously made as a valley. You usually do not need a fresh crease. Open the paper enough to access the line, bend it the opposite way, and press only along that established path.
This is especially common in pre-creasing. A tutorial may ask you to make several temporary folds, unfold them, and later collapse the paper along a mixture of mountain and valley creases. The earlier creases are landmarks waiting to be used in different directions.
Check the result with touch, not just sight
Close your eyes and run a fingertip gently across the folded sheet. A mountain crease feels like a ridge from the side facing you; a valley crease feels like a channel. This tactile check is useful when patterned paper makes the crease line hard to see.
Then open the sheet and look for stress marks. A clean practice sheet should have distinct lines without crushed corners or a cluster of accidental creases. If you can reverse each line deliberately, you are ready to use mountain and valley folds inside a real model.
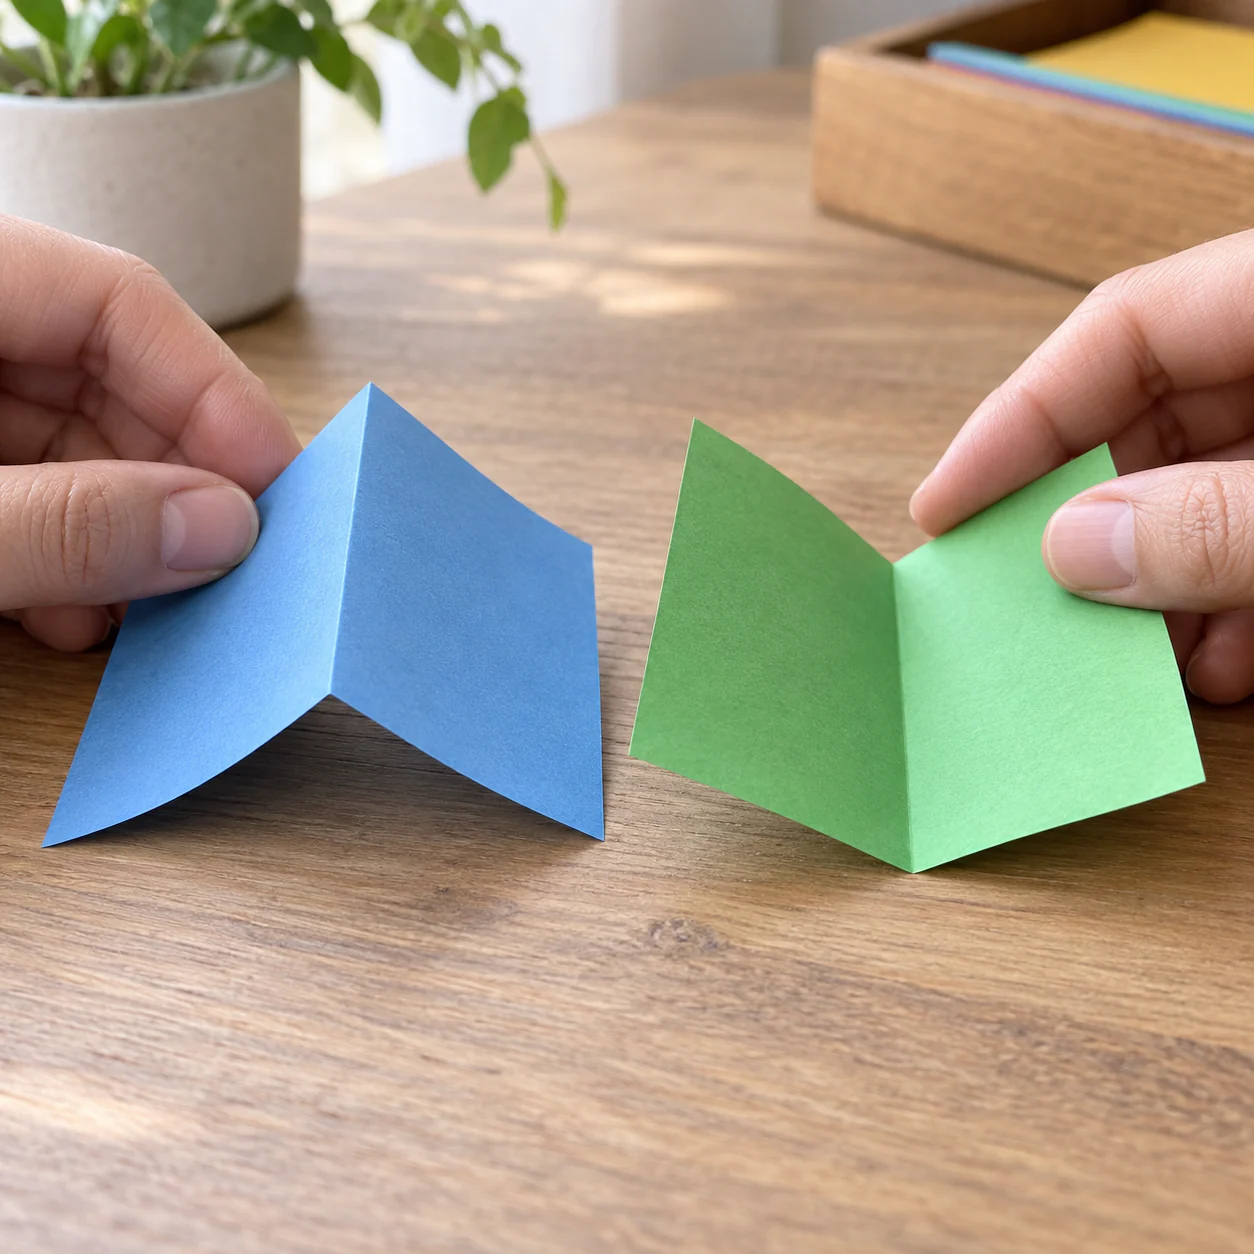
The important beginner habit is simple: align first, crease second, and notice which way the paper wants to bend. Once that becomes automatic, diagram symbols and orientation changes become much easier to follow.