
Family Activities
How to Choose an Origami Project for a Family Table
Choose a family origami project by matching fold count, paper size, supervision needs, cleanup, and success criteria to the people actually at the table.
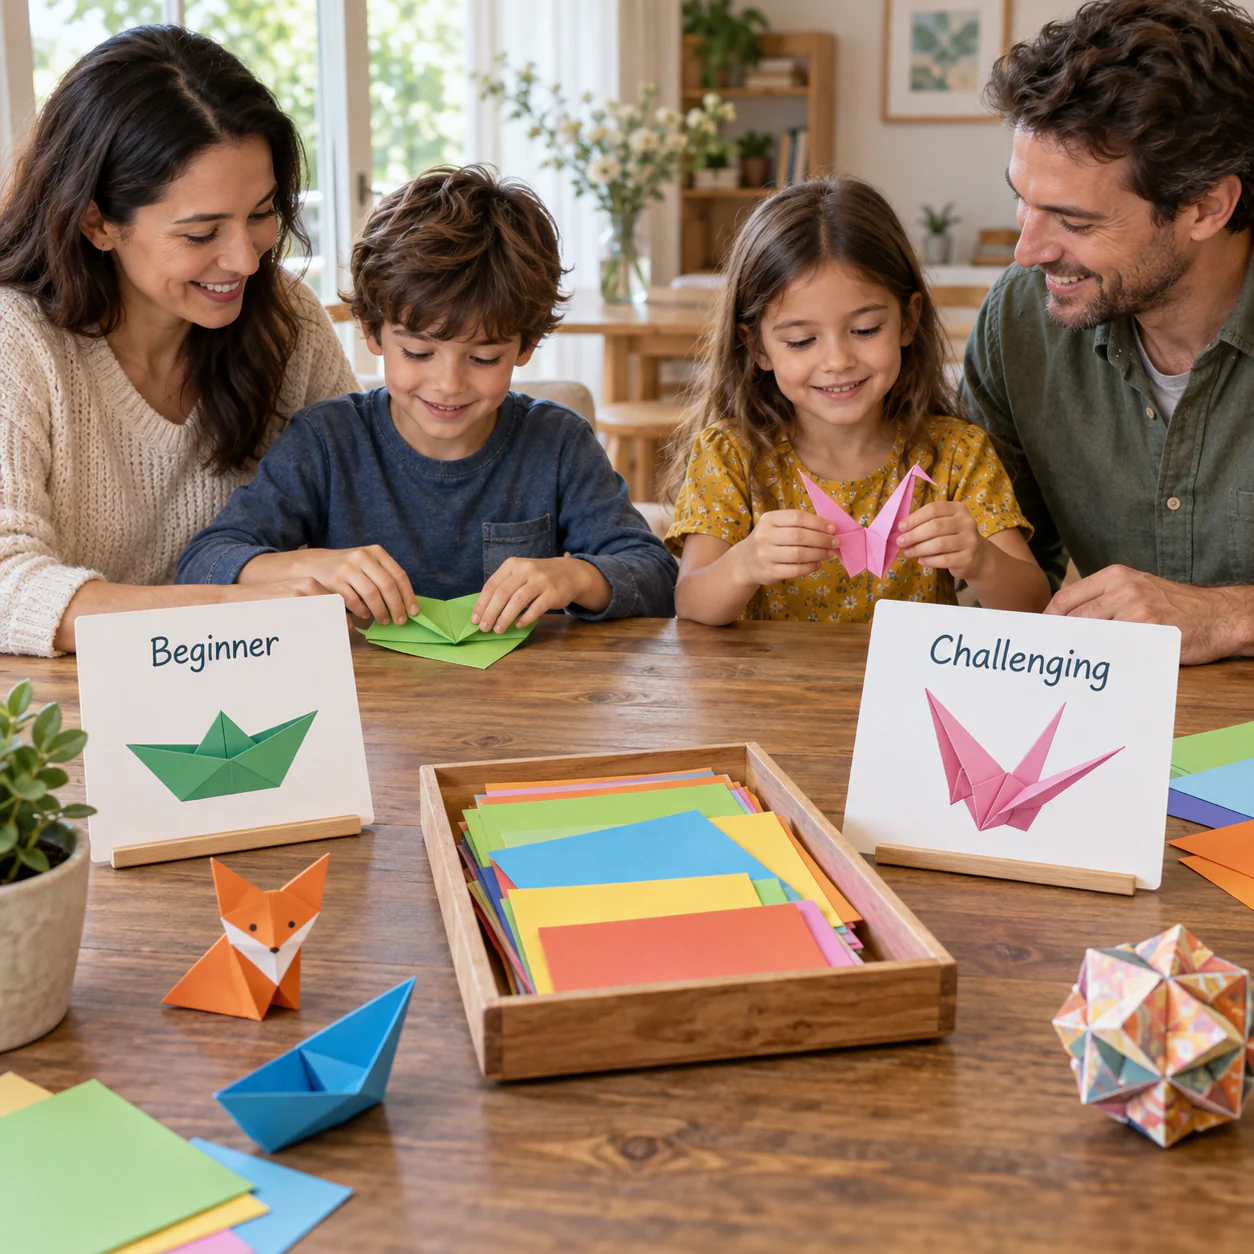
The best family origami project is rarely the most impressive model in the search results. A group activity succeeds when everyone can see the important folds, the table is not crowded with tools, and there is a clear point where a person can stop without feeling left behind.
Choose for the least-experienced folder first
If one person has never folded origami, start with their needs. Look for a model with large visible movements: fold in half, corners to center, open a pocket, or repeat a symmetrical action.
Avoid beginning with narrow reverse folds, many hidden layers, tiny sink folds, or a long sequence that has no recognizable checkpoint.
Experienced folders can make the easy model smaller, use decorative paper, or help demonstrate. A first-time folder cannot make a dense model simpler after the session has already started.
Estimate attention in minutes, not “difficulty stars”
Difficulty labels vary across websites. Instead, scan the actual sequence and ask:
- How many distinct actions are there?
- Does the model repeat the same fold several times?
- Is there a tricky collapse or inside move?
- Can a beginner identify the halfway shape?
- Does the finished object work even if alignment is not perfect?
A ten-step model with one unfamiliar collapse may be harder to teach than a fifteen-step model built from repeated corner folds.
For a mixed-age table, plan the core activity to finish comfortably before anyone needs a break.
Match paper size to hands and layer count
Use larger paper for first attempts and for models that build many layers. Around 15 cm / 6 inches works for many simple projects, but a larger square can make small flaps easier to see.
Give everyone the same size during instruction so one person's landmark matches another's. Decorative paper can vary once the group understands the sequence.
If the model starts from a rectangle, prepare the rectangles before the session rather than turning the first ten minutes into cutting.
Remove tools the model does not need
A paper-only project is easier to supervise and clean up than one involving scissors, glue, markers, string, and small decorations all at once.
If decoration is part of the fun, fold first and bring extra materials out afterward. That keeps the working surface clear and prevents markers or scraps from hiding the edges people need to align.
For children, choose tools and supervision appropriate to age and household rules.
Define a success check that is not “perfect”
Pick one thing the finished model should do:
- a box sits flat;
- a boat opens into a recognizable hull;
- a frog compresses and jumps gently;
- a fortune teller opens in both directions;
- a hat holds its shape;
- a basic fold shows clean symmetry.
That gives everyone a concrete finish line. A slightly uneven model can still succeed.
Prepare one fallback before people arrive
Have a second, easier project ready. If the selected model turns out to be frustrating, switching is not failure; it is good facilitation.
A fallback should use the same starting paper if possible. That way you do not need a second supply setup.
For example, if a layered animal is too difficult, move to a traditional boat, box, or crease-based activity using the same or similar paper.
Respect the source of the model
If you are teaching from someone else's modern design, check the creator's permissions and do not distribute copied diagrams or screenshots without authorization. For published site content, traditional models or designs you created or licensed are cleaner choices.
OrigamiUSA's copyright guidance is useful here because “free to view” does not automatically mean “free to republish.”
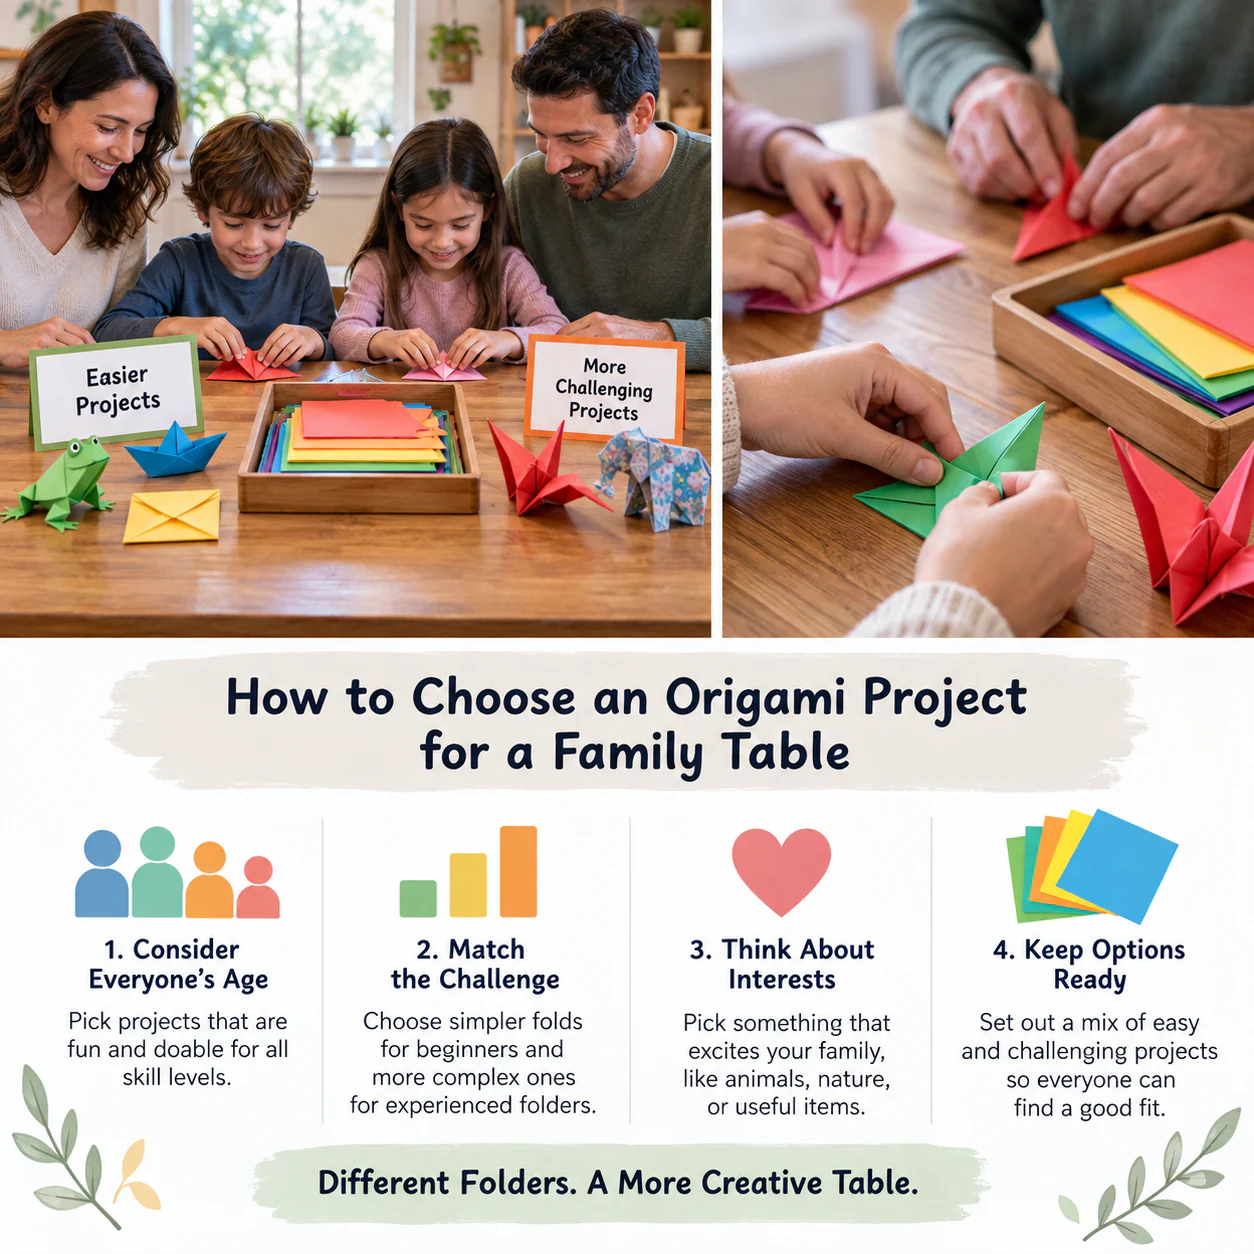
A five-question family-project filter
Before committing, answer yes or no:
- Can a first-timer understand the first three actions?
- Is the paper large enough for the smallest working folds?
- Can the project finish within the available attention span?
- Is there an obvious success check?
- Do you have the right to use the instructions or teaching assets as planned?
Five yeses is a stronger signal than a generic “easy” badge.
Test the project once with your non-dominant hand as a reality check
You do not need to complete the whole model this way. Fold the first few steps more slowly than usual and notice where you rely on practiced finger habits. A movement that feels automatic to an experienced folder may require two hands, a rotated view, or a larger sheet for someone new.
This test is especially useful for pocket-opening steps and narrow flaps. If you struggle to show the movement without covering the important area with your fingers, the project may need better photographs or may not be the best group choice.
Also rehearse the verbal instruction without saying “just fold this over.” Name the landmark: center crease, lower point, top layer, open edge. If the movement cannot be described clearly, solve that teaching problem before everyone is seated at the table.