
Paper & Tools
A Beginner Origami Supply List: Buy Less, Fold More
Build a minimal origami starter kit around usable paper, a flat work surface, optional cutting tools, and simple storage instead of buying specialized gear too early.
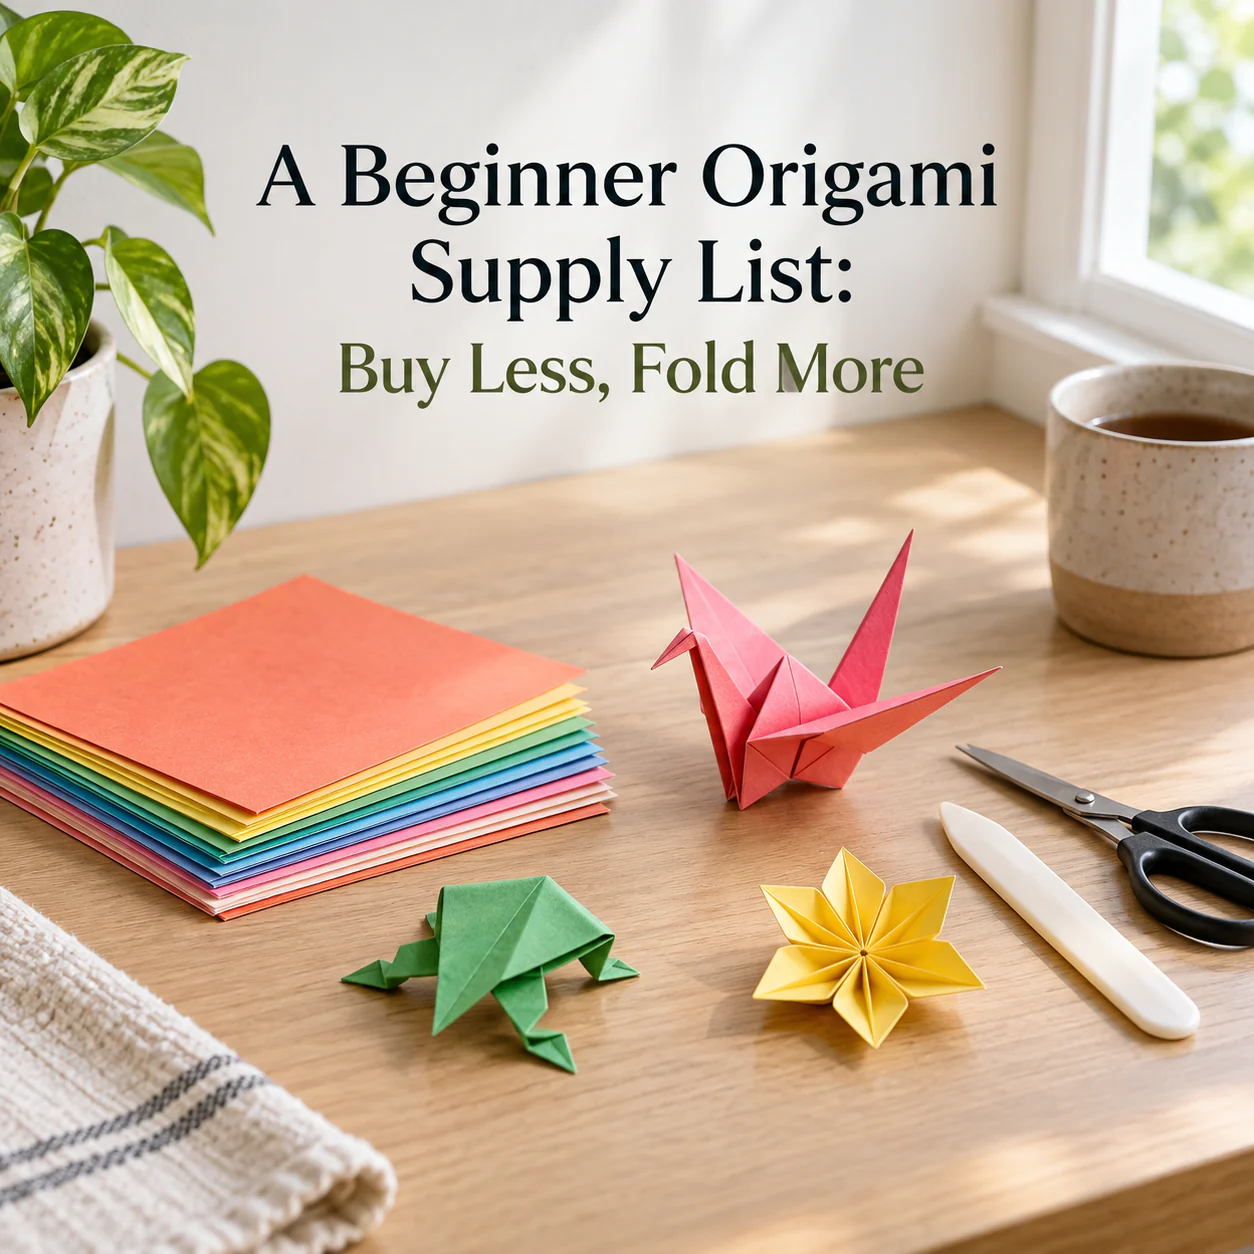
Origami is easy to over-shop because paper packs, scoring tools, mats, clips, adhesives, and craft accessories are all nearby in the same aisle. Most beginners can learn more from ten ordinary squares and a clear tutorial than from a drawer full of equipment.
Start with paper you are willing to waste
Your first paper should be easy to replace. A small pack of standard kami is convenient because it is already square, thin, and available in contrasting front/back colors. Copy paper cut into squares is also fine for practicing basic creases.
For many simple models, around 6 inches / 15 cm is a comfortable learning size. OrigamiUSA class supply lists repeatedly use paper in that range and often recommend larger sheets when a design becomes more detailed.
Do not begin with handmade, foil-backed, textured, or expensive decorative paper unless the project specifically benefits from it. New folders make corrections. Cheap practice paper lets you reopen a fold without feeling that every mistake costs money.
The work surface matters more than a special mat
Use a clean, dry, flat table. A smooth surface helps edges line up and makes it easier to press a crease from the center outward.
A cutting mat is useful if you already own one, but it is not part of the minimum kit. In fact, deep grid lines or a textured mat can sometimes distract from the paper's own landmarks.
Clear a space slightly larger than an open laptop. Keep drinks, food, and loose pens outside that area. This makes it easier to rotate the model without catching a corner on something.
Keep cutting tools separate from folding tools
Traditional origami often uses uncut paper, but many beginner activities start from US Letter or A4. If you need to turn a rectangle into a square, ordinary scissors are enough.
A ruler and craft knife can make repeatable squares, but they also add a cutting-surface and safety requirement. They are not a beginner necessity. For family use, let an adult decide whether cutting tools belong at the table at all.
Once the starting sheet is prepared, move cutting tools away. That keeps the activity focused on folding and reduces accidental cuts to a finished model.
Skip the bone folder until the paper gives you a reason
A bone folder or similar creasing tool can be useful on some papers or repetitive projects, but fingers handle most beginner kami well. If you press every crease aggressively with a hard tool, wrong folds become harder to correct and thin paper can look polished or crushed along the edge.
Buy a creasing tool later if you notice a specific problem: thick layers that refuse to flatten, many repeated units, or a project whose finish benefits from especially firm creases.
Tools should solve a problem you actually have.
Spend a few dollars on storage before another novelty pack
Bent corners are more annoying than a limited color selection. Store loose squares flat in their original package, a document envelope, photo box, or rigid folder.
Sort by size if you collect more than one format. A 15 cm stack, a larger-practice stack, and a scrap envelope are enough for a small home setup.
Keep paper away from damp areas and places where it will be crushed under books or craft tools. You do not need archival storage for everyday practice paper; you do need it to remain flat and dry enough to fold predictably.
What not to buy for your first week
You can postpone:
- precision scoring boards;
- multiple bone folders;
- glue guns;
- specialty tweezers;
- expensive handmade sheets;
- large assortments bought only for color variety;
- display hardware before you have models worth displaying.
A beginner kit should make starting easier, not create another hobby to organize.
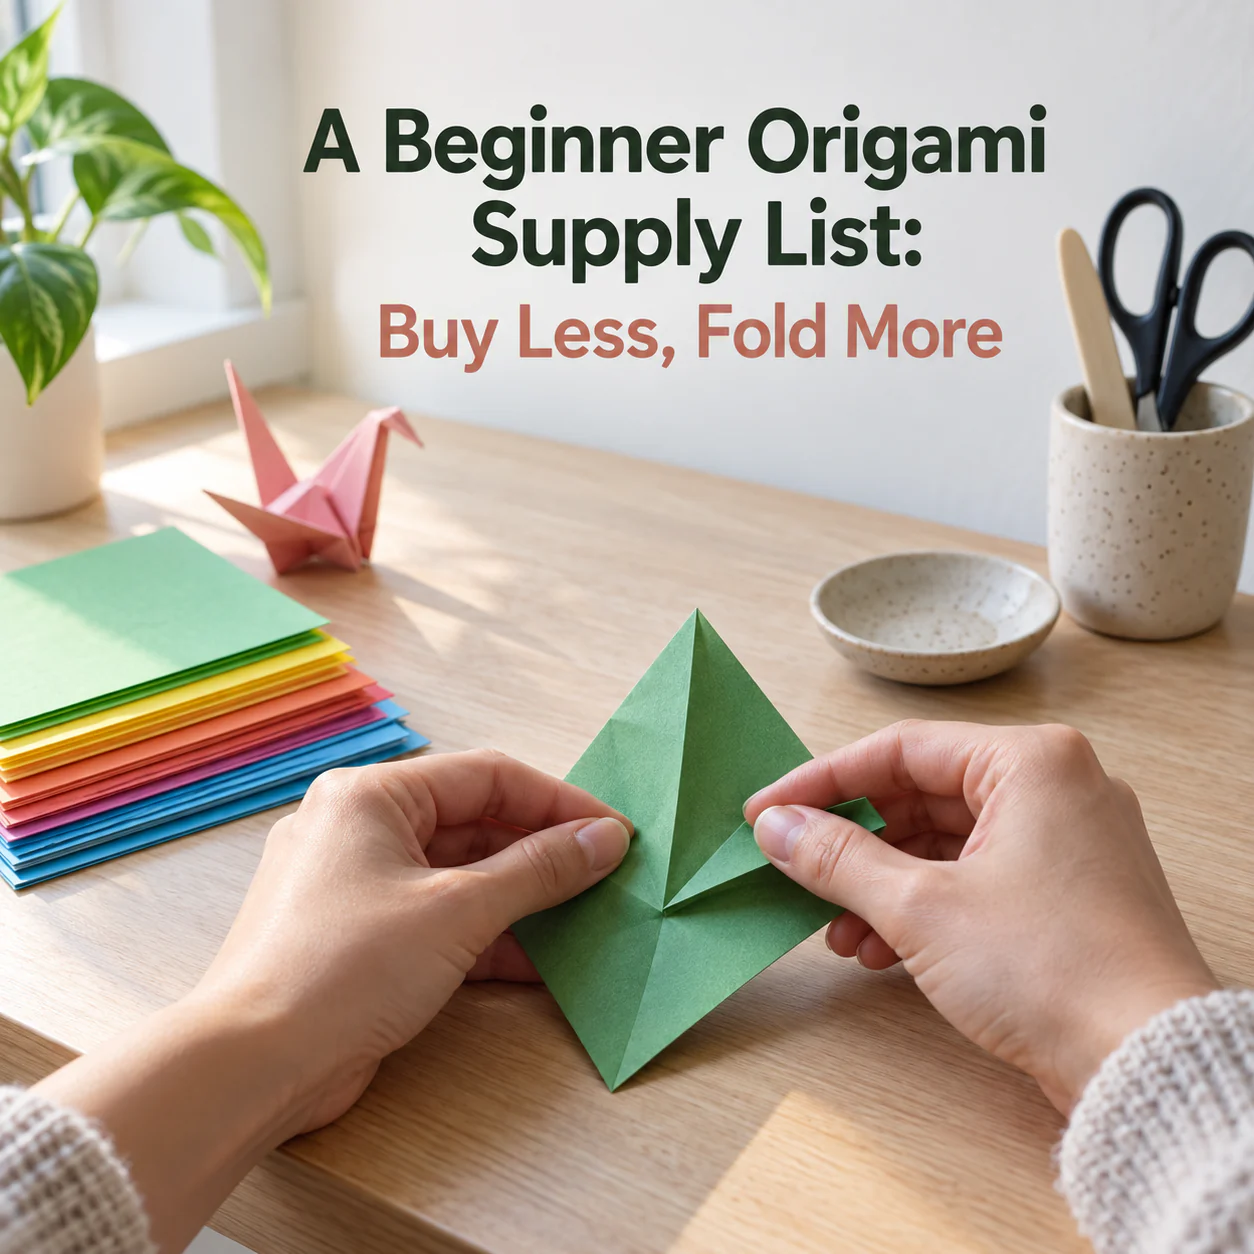
A practical starter kit
If you want one short shopping list, use this:
- One pack of 15 cm square kami or comparable lightweight paper.
- A clean flat table.
- Scissors only if you will convert rectangular paper to squares.
- A simple folder or envelope for unused sheets and finished flat practice pieces.
- One reliable tutorial at the right difficulty.
After five or ten folding sessions, you will know whether your next useful purchase is larger paper, better storage, a creasing tool, or nothing at all.
Use a seven-day rule before adding a tool
When a new accessory looks useful, write down the problem you think it will solve and keep folding for a week. If the same problem appears in several sessions, the purchase may be justified. If it disappears when you switch paper size or slow down alignment, you have saved money and learned something about technique.
This works particularly well for creasing tools, precision cutters, storage systems, and specialty papers. A folder may help repeated thick folds; a cutter may make sense if you routinely convert large sheets into squares; a rigid portfolio may be worthwhile once loose paper is actually being damaged.
The rule is not anti-tool. It simply reverses the order: observe friction first, buy second. Beginners build a kit that reflects the models they enjoy rather than a generic craft-store checklist.