
Traditional Models
Traditional Origami Jumping Frog: How to Test the Action Gently
Make and test a traditional jumping frog with attention to the spring fold, paper choice, and a safe low-force launch.
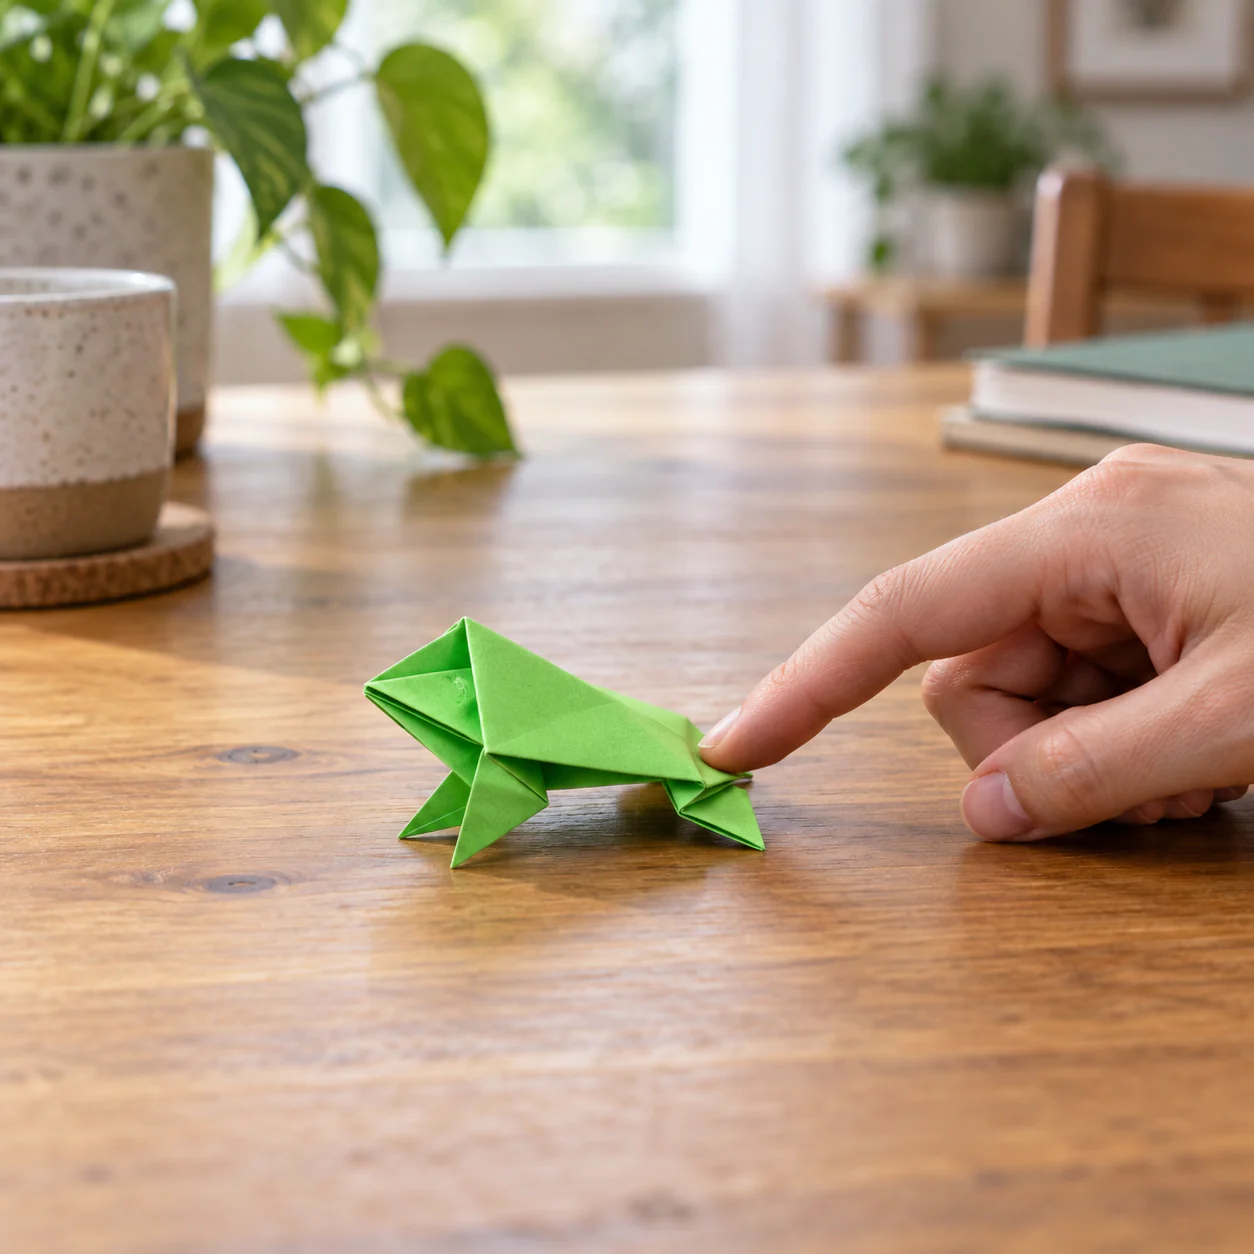
The jumping frog is different from a display model: folding is only half the job. The finished frog has to compress, release, and land without its layers opening. That makes it a useful beginner project for connecting crease accuracy with motion.
Choose paper for spring, not decoration
Use a square sheet of thin-to-medium paper. Around 6 inches / 15 cm is a comfortable starting size, and larger paper can be easier for younger beginners because the layered sections are easier to separate. Extremely thick paper tends to make the spring bulky; very soft paper may not rebound well.
A solid color is useful on the first attempt because you can see the body symmetry more clearly.
Build the frog body around a centered collapse
Fold the square in half vertically and reopen it so you have a center line. Near the top, create crossing diagonal creases from each upper corner toward the opposite side, then add a horizontal crease through the point where those diagonals meet.
Open the sheet and use those prepared lines to collapse the top section inward into a triangular form. If the paper resists, one of the creases may need to reverse direction. Do not crush the area until the triangle settles naturally.
Fold the lower side edges toward the center so the body narrows. The long lower section will later become the rear legs and spring.
Give the front legs room to clear the table
The two loose points in the triangular top section become the front legs. Fold them upward and outward so they are symmetrical rather than stacked directly under the body.
This is not just cosmetic. If one front leg sits much lower than the other, the frog can twist when it lands. Compare the angles before pressing hard.
Next, shape the lower portion into the rear-leg area according to the established center line. Keep both sides matched so the spring force travels through the middle of the model instead of off to one side.
The final accordion is the mechanism
Near the rear of the frog, fold a section forward, then fold part of that section back on itself. This creates the compact accordion-like spring.
Press this crease firmly enough that it remembers the shape, but do not flatten the whole frog into a hard brick. The rear should be able to flex under your finger and return.
Set the frog on a table. If the front sits flat and the back arches slightly, the mechanism is ready to test.
Launch with pressure and release, not a hard flick
Clear a patch of table first. Keep faces, drinks, fragile objects, pets, and electronics out of the landing area.
Place one fingertip on the rear spring. Press down gently until the back compresses. Instead of snapping your finger upward, slide it backward off the edge. The paper releases and the frog jumps forward.
Start with very little pressure. A well-folded frog does not need a forceful launch.
If it only scoots, make sure the spring crease can flex. If it jumps sideways, compare the left and right rear folds. If it flips backward, reduce the pressure before changing the model.
Tune one variable at a time
Do not refold everything after one weak jump. Test systematically:
- Too little lift: sharpen only the spring folds.
- Sideways launch: compare rear-leg symmetry and center alignment.
- Front catches the table: lift or rebalance the front leg folds slightly.
- Layers open: reinforce the body folds that hold the rear section together.
- Paper feels stiff: try a larger or thinner square before redesigning the spring.
A second frog made from the same size paper is a useful control. If both behave the same way, the paper may be the main variable.
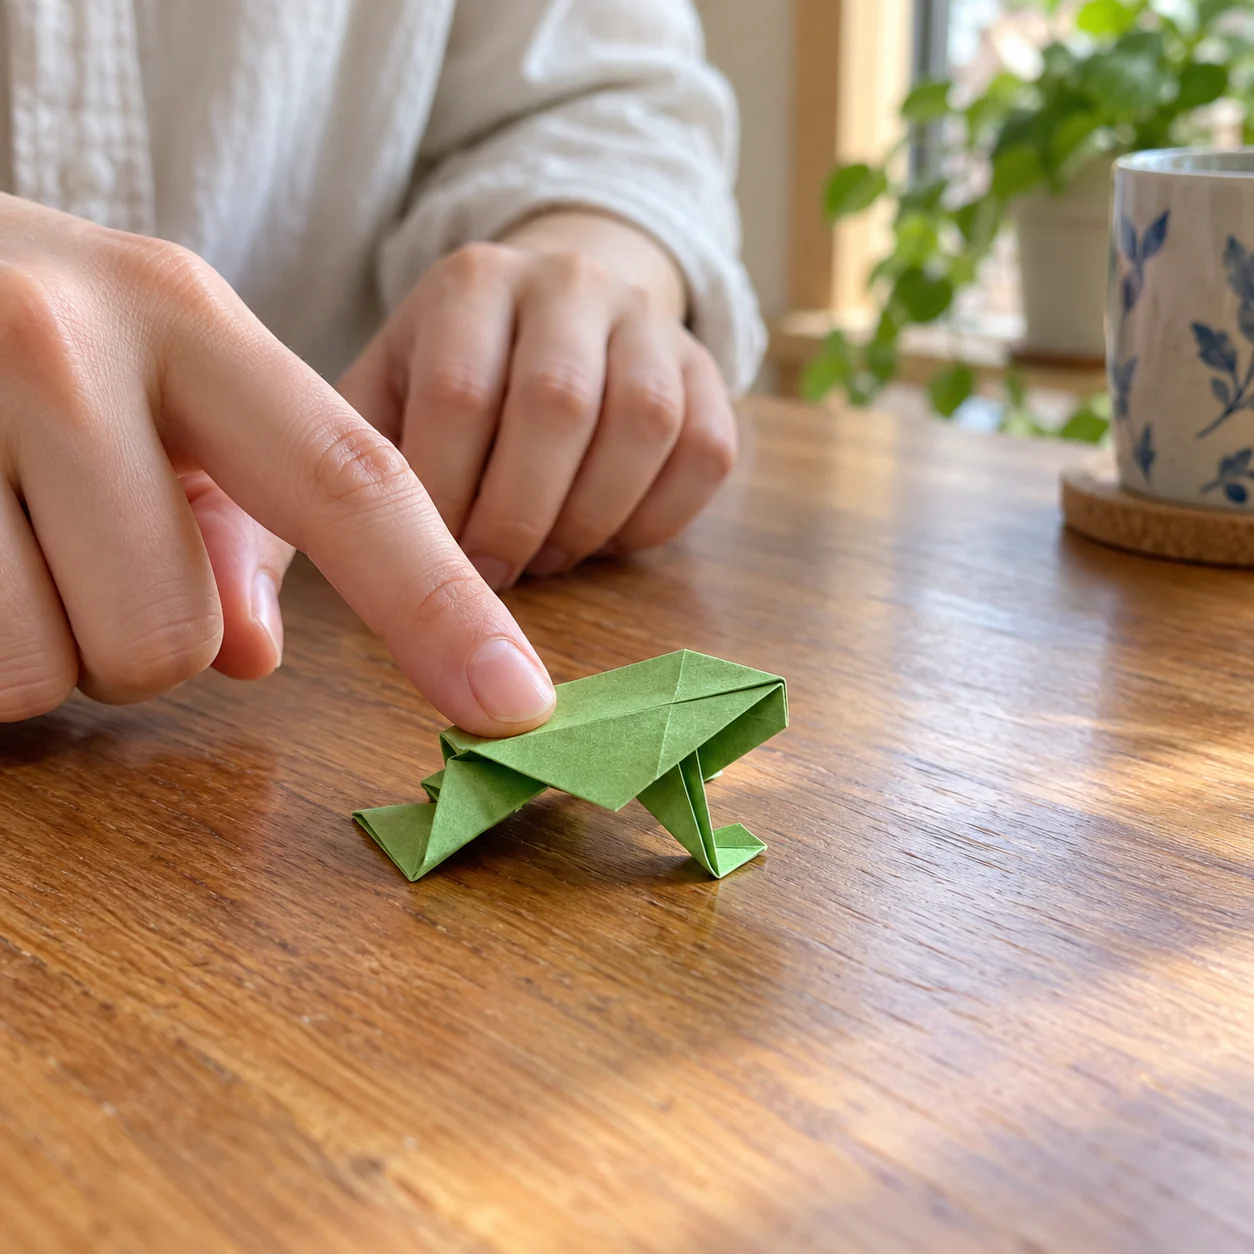
Treat the jump as an experiment, not a competition
A family activity can measure distance with a ruler, aim for a paper target, or compare how two paper weights behave. Keep the tone low-stakes: the most useful question is “what changed?” rather than “whose frog won?”
The jumping frog is commonly identified as a traditional model. For publication, use your own step photographs and wording rather than copying another tutorial's visual sequence. The model may be traditional; a photographer's images and a writer's presentation are still their own work.
Record one controlled jump before changing the frog
Place the frog at the same start line and use roughly the same gentle press for three attempts. If all three jumps veer in the same direction, inspect symmetry. If the distances vary wildly, your finger pressure may be the bigger variable.
A simple paper ruler or marked strip can help you compare attempts without turning the activity into a high-force contest. Keep the launch zone short and clear. The purpose is to see whether a crease adjustment changed the mechanism.
When you make a second frog, change only one feature—paper size, paper weight, or spring fold depth. Testing multiple changes at once makes it impossible to know which one helped. This small experiment gives the jumping model an educational purpose beyond the novelty of making it hop.