
Traditional Models
Traditional Origami Paper Boat: A Beginner Folding Session
Fold a classic paper boat from a rectangle, using the intermediate hat and diamond shapes as checkpoints so beginners can recover before the final opening.
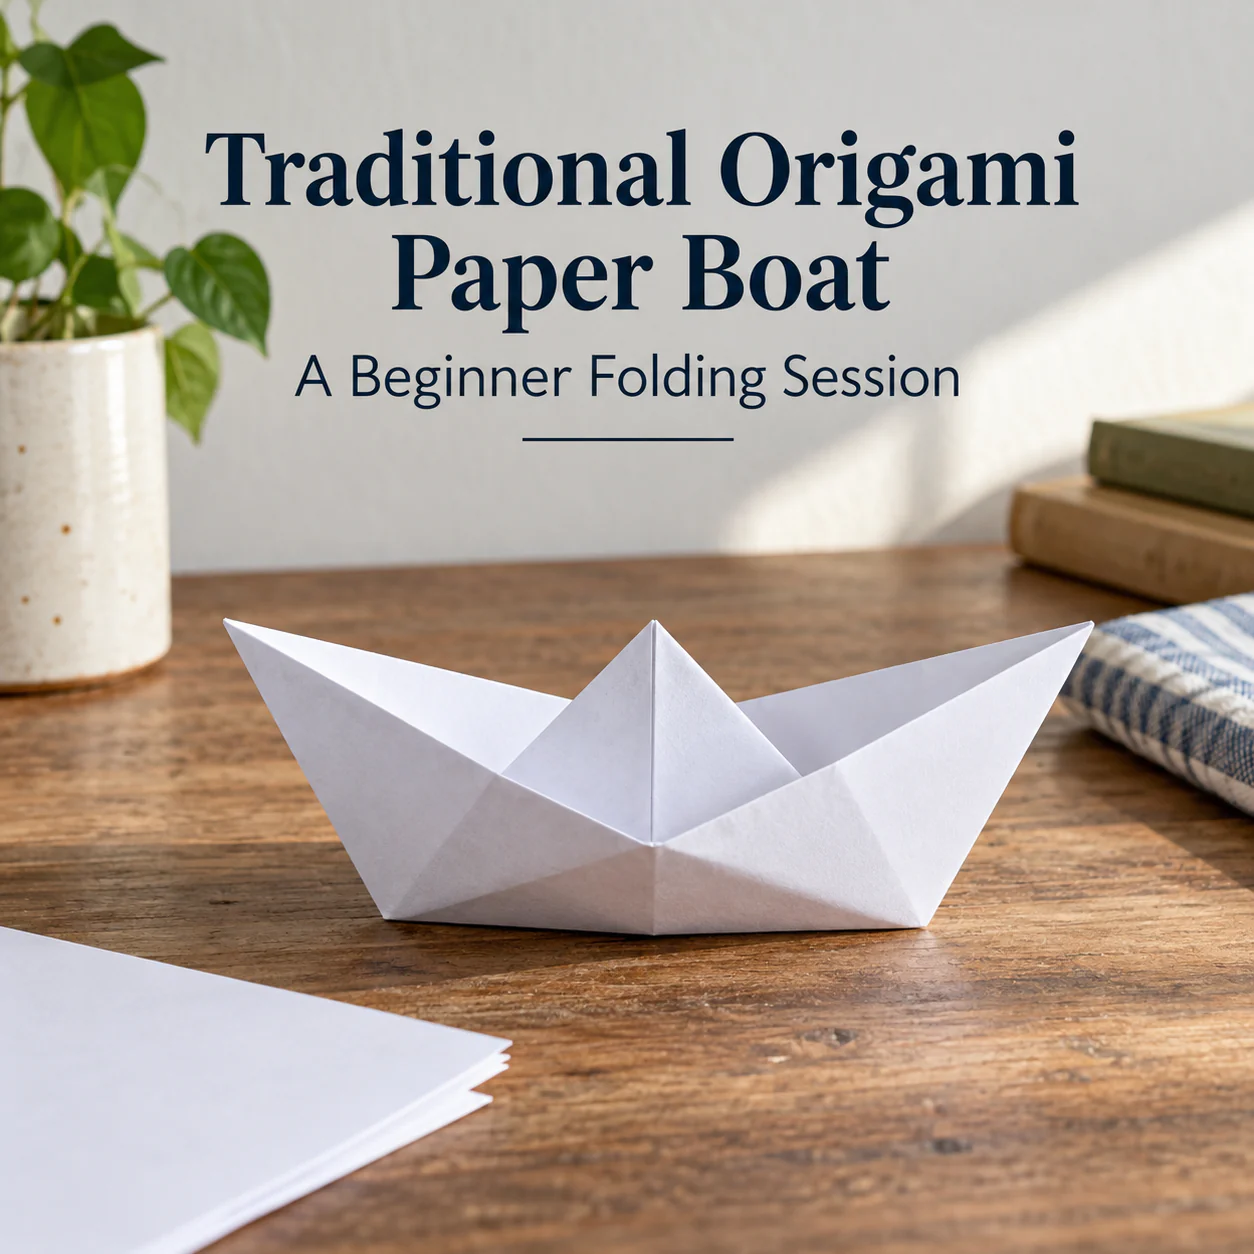
The traditional paper boat is unusually forgiving because it passes through recognizable shapes on the way to the finish. A beginner can stop at the “hat,” “diamond,” and “small diamond” checkpoints and confirm the model before continuing.
Start with a rectangle, not a square
Use US Letter, A4, newspaper, or another lightweight rectangle. Place it in landscape orientation and fold the top edge down to the bottom edge so the sheet becomes a shorter rectangle. Keep the fold at the top.
Make a small vertical center crease by folding the rectangle in half from side to side, then reopen that side fold. You only need the center landmark.
Bring the top-left and top-right corners down to that center line. The two diagonal folds should mirror each other and create a triangle at the top with rectangular strips remaining below.
Checkpoint: the lower edges of the two triangular flaps should meet cleanly at the center.
Turn the loose strips into a hat brim
Fold the front lower strip upward against the triangle. Turn the model over and fold the other lower strip upward on the back.
At the protruding corners, wrap or tuck the small tabs around the sides so the lower edges stay together. You now have the familiar paper-hat stage.
Do not rush past it. Pick up the model and confirm that the two sides are symmetrical. If one top corner is higher, the earlier corner-to-center folds were uneven.
Open the hat into a diamond
Place your fingers inside the lower opening of the hat. Pull the left and right corners away from each other while bringing the top and bottom points together.
The hat flattens into a diamond or square-like shape. Press the new side creases gently.
This move often feels mysterious the first time because no new measurement is involved. You are simply changing which pair of existing creases lies flat.
Make a smaller triangle, then a smaller diamond
With the diamond's open point facing you, fold the front bottom point up to the top point. Turn the model over and repeat with the other bottom point.
You now have a compact triangle.
Open the lower pocket of that triangle the same way you opened the hat: pull the side corners apart and bring the opposite points together. Flatten it into a smaller diamond.
Checkpoint: two loose points should be visible at the top. Those are the parts you will pull apart to reveal the boat.
Open the hull slowly
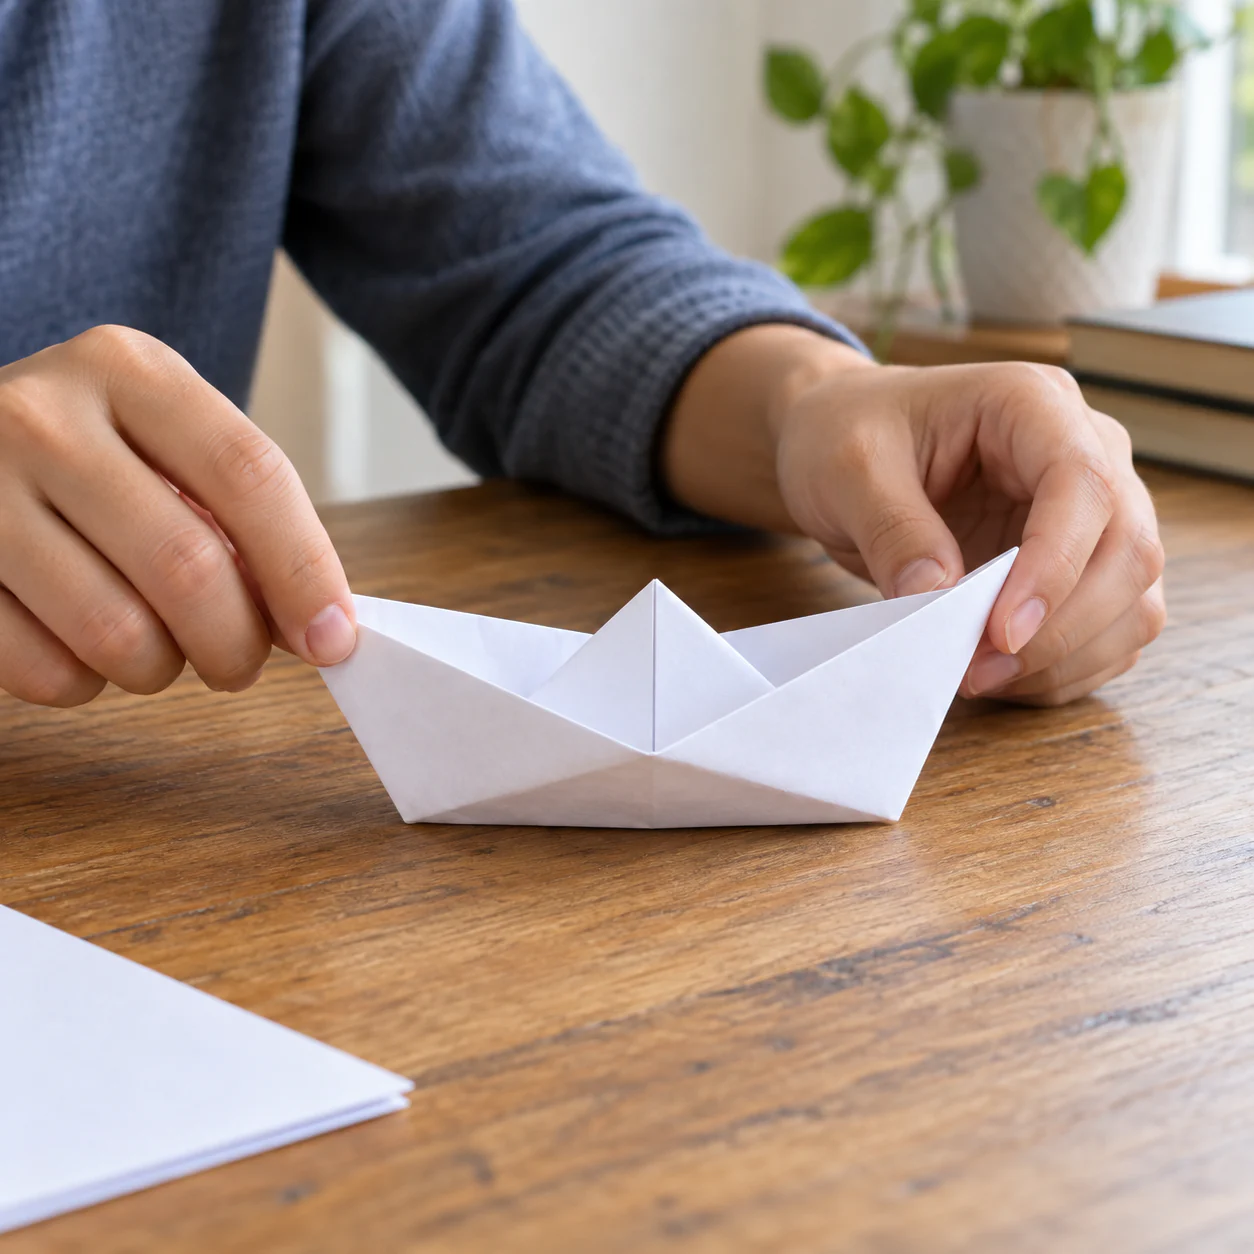
Hold one top point in each hand and pull them gently away from each other. The center opens and the sides spread into a boat shape.
Flatten the bottom just enough that the boat can stand on the table. Adjust the central triangular area rather than forcing the side walls outward.
If the boat is skewed, compare the two ends. Unequal top-corner folds at the beginning often show up as unequal bow and stern shapes here.
Keep water play separate from the folding lesson
Some versions of the traditional boat can float briefly, but ordinary paper absorbs water and softens. For a beginner activity, first test the model dry on a table. If you choose to float it, use a shallow tray with adult supervision and expect the paper to be temporary.
Do not use sinks, tubs, ponds, or other deep water as part of a children's craft challenge. The learning objective is the folding sequence, not how long a paper object survives in water.
Use the three checkpoint shapes to teach recovery
If someone gets lost, ask which of these shapes they last had: hat, large diamond, triangle, or small diamond. That answer tells you where to restart without unfolding the entire model.
The paper boat is widely treated as a traditional model, which makes it suitable for an independently photographed beginner tutorial. Keep the site's own photographs, wording, and sequence presentation original rather than lifting another publisher's instructional assets.
Diagnose the final boat from its symmetry
When the hull opens unevenly, compare the left and right ends before unfolding the whole model. If one end is taller, the original top corners probably did not meet the center at matching angles. If both ends match but the hull twists, inspect the diamond stages and check whether the lower points were folded to the same height.
A boat that will not stand may simply need the bottom opened more evenly. Place two fingertips inside the hull and widen it gradually, alternating sides so one crease does not take all the stress.
For teaching, photograph these checkpoints as well as the successful final boat. A close image of an uneven diamond can be more helpful to a beginner than another beauty shot of the finished model because it shows where a recoverable error first becomes visible.